Developer Tutorials
Generate Video from JSON: AI Context and API Workflow
Generate video from JSON with Zvid's API. Learn JSON to video templates, JSON prompts, render payloads, job polling, and automation use cases.
Published May 12, 2026
Generate Video from JSON: AI Context and API Workflow
To generate video from JSON, define the video as structured data, send that payload to a rendering API, save the returned job ID, and poll the job until the final video URL is ready. That is the practical JSON to video workflow behind most JSON video generators: your application creates the scene definition, and the renderer turns it into a finished file.
With Zvid, that flow is public and straightforward. You verify your API key, submit a payload to POST https://api.zvid.io/api/render/api-key, then poll GET https://api.zvid.io/api/jobs/{id} until the render completes. The best reference pages to keep open while you implement it are the Getting Started guide, the Authentication guide, the JSON Structure overview, and the published deep dive JSON to Video API: Convert JSON to Video with Zvid.
Structured JSON becomes a repeatable render workflow when the payload shape stays stable.
If you want to see the broader feed-driven pattern after this tutorial, the same ideas also show up in How to Create Product Videos from a CSV or Product Feed. The difference here is that we are starting with one payload and one render job instead of a larger automation pipeline.
Here is the minimal public API sequence most developers start with:
curl -X GET https://api.zvid.io/api/user/profile \
  -H "x-api-key: YOUR_API_KEY"

curl -X POST https://api.zvid.io/api/render/api-key \
  -H "Content-Type: application/json" \
  -H "x-api-key: YOUR_API_KEY" \
  -d @render-job.json

curl -X GET https://api.zvid.io/api/jobs/$JOB_ID \
  -H "x-api-key: YOUR_API_KEY"
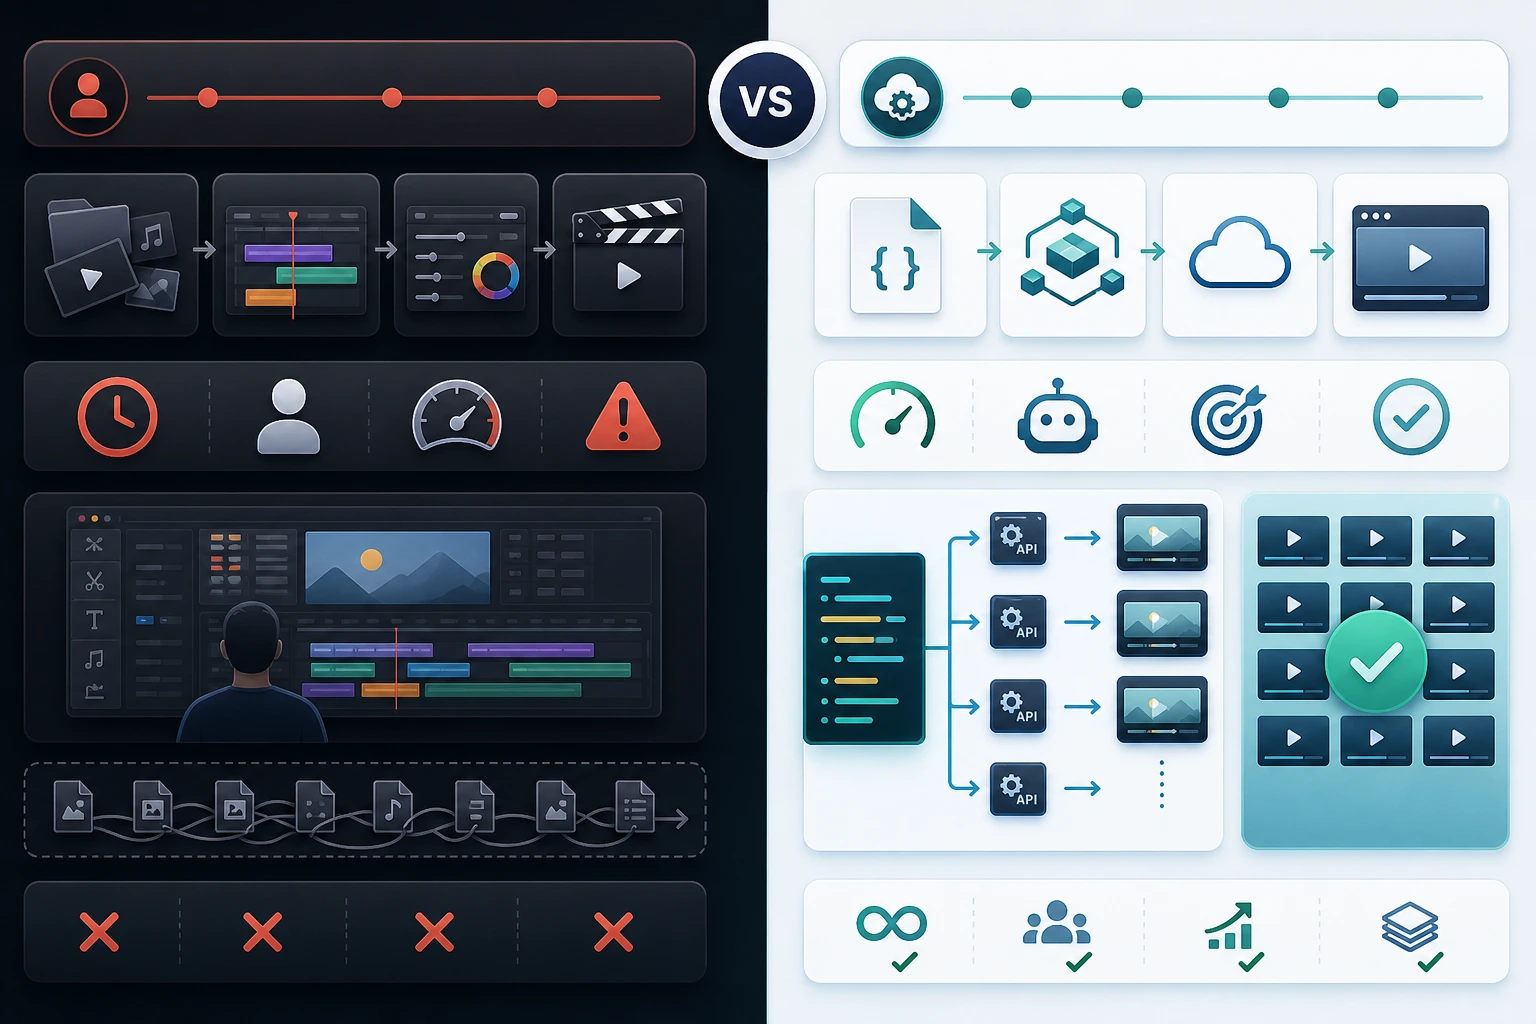
What it means to generate a video from JSON
Generating a video from JSON means your timeline is described as data instead of being trapped inside a manual editor file.
That JSON can define the canvas size, video duration, frame rate, background color, text layers, images, videos, audio tracks, subtitle timing, and output format. Zvid then validates the payload, queues the job, renders the composition, and returns the result when the job is done.
This is useful when:
- The same video layout needs many content variations.
- Your app already stores the inputs as structured data.
- You want repeatable renders instead of one-off exports.
- You need a server-side workflow that can submit, retry, and track jobs predictably.
If you only need one handcrafted launch video, a manual editor may still be faster. If your product already thinks in structured inputs, JSON rendering is usually a much better fit.
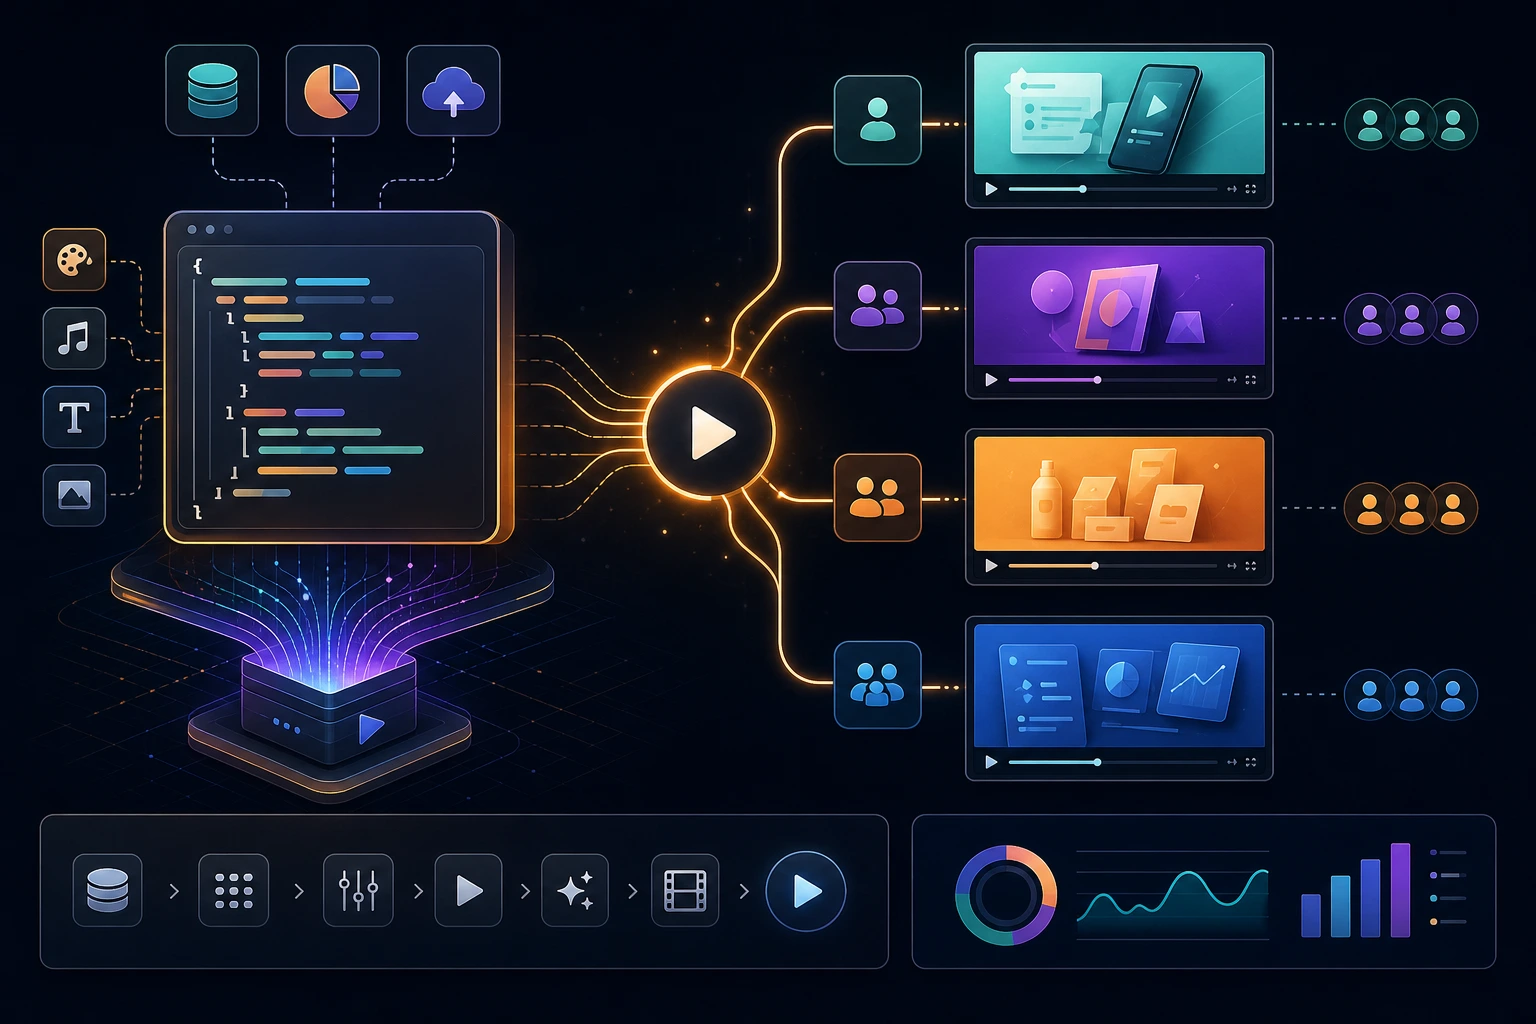
How the JSON to video workflow works
The working loop is: build the JSON payload, submit the job, poll the result, then store or publish the finished video URL. In other words, the JSON file or JSON object acts like a video template plus the values that should fill it.
Keep payload generation, submission, and job polling as separate steps.
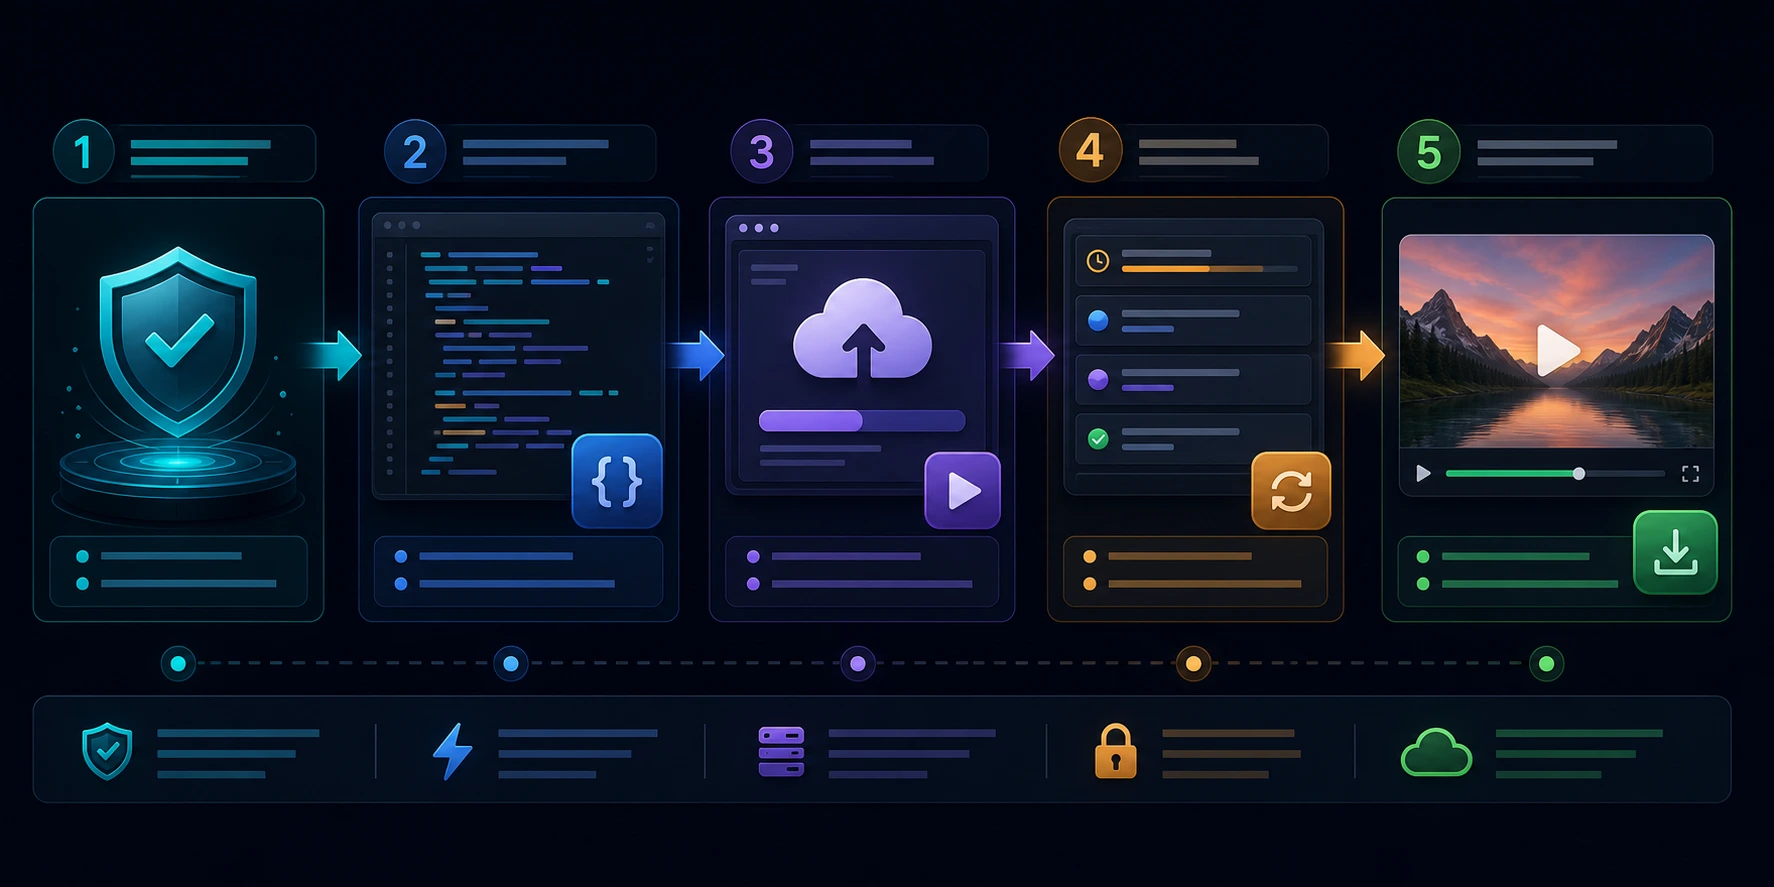
In practice, the flow looks like this:
- Build one valid Zvid
payloadobject. - Submit that payload to
POST https://api.zvid.io/api/render/api-key. - Save the returned
jobId,status, and queue details. - Poll
GET https://api.zvid.io/api/jobs/{id}until the state iscompletedorfailed. - Use
result.urlwhen the render finishes.
The Submit render job reference is the canonical source for the request body, and the Get render job status reference is the canonical source for the polling response shape.
If you are evaluating the workflow for the first time, the right CTA is simple: copy one payload, submit one render, and verify one finished result before you design anything more ambitious.
Copy-paste Zvid JSON example
The render request body must contain a top-level payload. Inside that payload, the main fields are name, resolution, duration, frameRate, outputFormat, backgroundColor, visuals, audios, and subtitle, as described in the JSON Structure overview, the Resolution Presets reference, and the Text Elements reference.
Below is a proof-friendly Zvid API payload for a short tutorial-style explainer card. It uses SVG and TEXT elements only so the layout is easy to study and adapt.
{
  "name": "generate-video-from-json-demo",
  "resolution": "hd",
  "duration": 8,
  "frameRate": 30,
  "outputFormat": "mp4",
  "backgroundColor": "#0b1020",
  "visuals": [
    {
      "type": "SVG",
      "width": 1280,
      "height": 720,
      "svg": "<svg width='1280' height='720' viewBox='0 0 1280 720' xmlns='http://www.w3.org/2000/svg'><defs><linearGradient id='bg' x1='0' y1='0' x2='1' y2='1'><stop offset='0' stop-color='#0b1020'/><stop offset='1' stop-color='#1b2147'/></linearGradient><radialGradient id='glowA' cx='0' cy='0' r='1' gradientUnits='userSpaceOnUse' gradientTransform='translate(1080 110) rotate(90) scale(250)'><stop stop-color='#2dd4bf' stop-opacity='0.18'/><stop offset='1' stop-color='#2dd4bf' stop-opacity='0'/></radialGradient><radialGradient id='glowB' cx='0' cy='0' r='1' gradientUnits='userSpaceOnUse' gradientTransform='translate(210 640) rotate(90) scale(260)'><stop stop-color='#f6b84d' stop-opacity='0.16'/><stop offset='1' stop-color='#f6b84d' stop-opacity='0'/></radialGradient></defs><rect width='1280' height='720' fill='url(#bg)'/><circle cx='1080' cy='110' r='250' fill='url(#glowA)'/><circle cx='210' cy='640' r='260' fill='url(#glowB)'/><rect x='30' y='30' width='1220' height='660' rx='34' fill='rgba(255,255,255,0.035)' stroke='rgba(255,255,255,0.08)'/></svg>"
    },
    {
      "type": "SVG",
      "x": 304,
      "y": 368,
      "width": 416,
      "height": 470,
      "anchor": "center-center",
      "track": 2,
      "enterBegin": 0.2,
      "enterEnd": 0.8,
      "enterAnimation": "smoothleft",
      "exitBegin": 7.1,
      "exitEnd": 7.7,
      "exitAnimation": "fade",
      "svg": "<svg width='416' height='470' viewBox='0 0 416 470' xmlns='http://www.w3.org/2000/svg'><defs><linearGradient id='card' x1='0' y1='0' x2='1' y2='1'><stop offset='0' stop-color='rgba(255,255,255,0.13)'/><stop offset='1' stop-color='rgba(255,255,255,0.05)'/></linearGradient><linearGradient id='panel' x1='0' y1='0' x2='1' y2='1'><stop offset='0' stop-color='#2dd4bf'/><stop offset='1' stop-color='#4f73ff'/></linearGradient></defs><rect x='0.5' y='0.5' width='415' height='469' rx='30' fill='url(#card)' stroke='rgba(255,255,255,0.14)'/><rect x='30' y='30' width='138' height='32' rx='16' fill='rgba(45,212,191,0.14)' stroke='rgba(45,212,191,0.34)'/><text x='99' y='51' text-anchor='middle' fill='#9ef3ea' font-size='14' font-family='Arial' font-weight='700'>JSON PAYLOAD</text><rect x='30' y='90' width='356' height='134' rx='22' fill='rgba(9,16,31,0.58)' stroke='rgba(255,255,255,0.08)'/><rect x='30' y='244' width='356' height='82' rx='22' fill='rgba(9,16,31,0.58)' stroke='rgba(255,255,255,0.08)'/><rect x='30' y='346' width='356' height='92' rx='22' fill='url(#panel)' opacity='0.92'/><rect x='58' y='118' width='136' height='16' rx='8' fill='rgba(255,255,255,0.24)'/><rect x='58' y='148' width='236' height='13' rx='6.5' fill='rgba(255,255,255,0.10)'/><rect x='58' y='174' width='194' height='13' rx='6.5' fill='rgba(255,255,255,0.10)'/><rect x='58' y='270' width='122' height='14' rx='7' fill='rgba(255,255,255,0.22)'/><rect x='58' y='296' width='232' height='12' rx='6' fill='rgba(255,255,255,0.10)'/><rect x='58' y='374' width='194' height='18' rx='9' fill='rgba(255,255,255,0.28)'/><rect x='58' y='404' width='132' height='12' rx='6' fill='rgba(255,255,255,0.18)'/></svg>"
    },
    {
      "type": "TEXT",
      "x": 874,
      "y": 146,
      "width": 500,
      "anchor": "center-center",
      "track": 6,
      "enterBegin": 0.4,
      "enterEnd": 1,
      "enterAnimation": "fade",
      "exitBegin": 7,
      "exitEnd": 7.6,
      "exitAnimation": "fade",
      "html": "<div style='text-align:left; color:#9ef3ea; font-size:18px; font-weight:700; letter-spacing:1px;'>FROM JSON TO RENDERED VIDEO</div>"
    },
    {
      "type": "TEXT",
      "x": 874,
      "y": 270,
      "width": 500,
      "anchor": "center-center",
      "track": 8,
      "enterBegin": 0.6,
      "enterEnd": 1.3,
      "enterAnimation": "fade",
      "exitBegin": 6.9,
      "exitEnd": 7.5,
      "exitAnimation": "fade",
      "html": "<div style='text-align:left; color:#ffffff; font-size:50px; font-weight:700; line-height:1.1;'>Define one scene in JSON, then let the API render it.</div>"
    },
    {
      "type": "TEXT",
      "x": 874,
      "y": 420,
      "width": 500,
      "anchor": "center-center",
      "track": 8,
      "enterBegin": 0.9,
      "enterEnd": 1.5,
      "enterAnimation": "fade",
      "exitBegin": 6.8,
      "exitEnd": 7.4,
      "exitAnimation": "fade",
      "html": "<div style='text-align:left; color:#d7def6; font-size:22px; line-height:1.45;'>Use the same payload pattern for demos, explainers, feed-driven videos, and automated campaign variations.</div>"
    },
    {
      "type": "TEXT",
      "x": 820,
      "y": 556,
      "width": 340,
      "anchor": "center-center",
      "track": 9,
      "enterBegin": 1.1,
      "enterEnd": 1.7,
      "enterAnimation": "fade",
      "exitBegin": 6.7,
      "exitEnd": 7.3,
      "exitAnimation": "fade",
      "html": "<div style='display:inline-block; background:rgba(246,184,77,0.20); border:1px solid rgba(246,184,77,0.42); border-radius:24px; padding:16px 24px; color:#ffffff; font-size:22px; font-weight:700;'>Submit your first job</div>"
    },
    {
      "type": "TEXT",
      "x": 640,
      "y": 654,
      "width": 1080,
      "anchor": "center-center",
      "track": 4,
      "enterBegin": 1.3,
      "enterEnd": 1.9,
      "enterAnimation": "fade",
      "exitBegin": 6.6,
      "exitEnd": 7.2,
      "exitAnimation": "fade",
      "html": "<div style='text-align:center; color:#c4cceb; font-size:16px;'>Start small: one payload, one job, one finished output.</div>"
    }
  ]
}
The payload stays reusable when each field has one clear job in the render.
The point of this example is not the design. It is the shape of the request. Once your app can build one valid payload consistently, generating videos from JSON becomes a normal systems problem instead of a manual export task.
If you want remote media instead of an all-SVG tutorial card, the Text Elements reference explains safe text and HTML rendering, while the JSON Structure overview shows where images, videos, audio, and subtitles fit into the same payload model.
Send the render job and poll status
Once the payload shape makes sense, the rest is standard API work.
Start by verifying authentication:
curl -X GET https://api.zvid.io/api/user/profile \
  -H "x-api-key: YOUR_API_KEY"
Then submit a render request:
{
  "payload": {
    "name": "generate-video-from-json-demo",
    "resolution": "hd",
    "duration": 8,
    "frameRate": 30,
    "outputFormat": "mp4",
    "backgroundColor": "#0b1020",
    "visuals": [
      {
        "type": "TEXT",
        "text": "Hello from Zvid",
        "x": 640,
        "y": 360,
        "anchor": "center-center",
        "style": {
          "fontSize": 54,
          "color": "#ffffff",
          "textAlign": "center"
        }
      }
    ]
  }
}
Then poll the job:
curl -X GET https://api.zvid.io/api/jobs/$JOB_ID \
  -H "x-api-key: YOUR_API_KEY"
The Getting Started guide shows the same sequence with response examples, and the Get render job status reference shows the fields you should expect in the poll response. Save the returned jobId, track the job state, and only treat the render as done when the API returns a completed result.
This is the second CTA most readers need: do not build a full queueing system first. Submit one valid payload, inspect one finished output, and then scale the workflow once the basic loop is solid.
JSON prompt vs structured render payload
Search results for JSON video generation often mix two related ideas: a JSON prompt for an AI video generator and a structured JSON payload for a video rendering API. They both use JSON, but they are not the same workflow.
A JSON prompt for AI video generation usually describes creative intent for a model such as Sora, Veo, Google Veo 3, Veo 3.1, or Seedance. It may include camera motion, subject, lighting, style, dialogue, negative prompts, video length, and other prompt structure details. That can be useful when you want an AI-generated scene from text prompts or image generation inputs.
A Zvid render payload is more deterministic. It describes the output video as a set of explicit fields: resolution, duration, frame rate, visuals, text, media URLs, timing, subtitles, and output format. That makes it better when you need consistent video production, on-brand layouts, product data, placeholders for text, and repeatable video rendering without manual editing.
Use the AI prompt approach when the model should invent the shot. Use a structured render payload when your application already knows the content and needs to programmatically generate a video from structured JSON data.
JSON templates for video automation
A good JSON template separates stable design rules from dynamic content. The template might define the layout, animation timing, colors, subtitle placement, and output format. Your application can then inject the values that change, such as headline, CTA, product image, voiceover file, locale, or campaign name.
That structure is what lets teams automate video creation instead of editing every output by hand. You can create a template once, validate it with a small payload, and then use the same JSON format to generate videos automatically for many variants.
A practical template checklist:
- Keep required fields predictable, including
name,resolution,duration,frameRate, andoutputFormat. - Define placeholders for text, media URLs, subtitles, and optional campaign fields.
- Decide fallback behavior for missing images, long titles, unsupported formats, and empty CTA text.
- Keep scene layout logic separate from product, marketing, CRM, or spreadsheet data.
- Save the payload version so you can debug and regenerate the same video later.
JSON rendering vs manual editing
The practical tradeoff is repeatability versus handcrafted flexibility.
- Manual editing is better when every video needs one-off creative work.
- JSON rendering is better when the structure repeats and the inputs change.
- Manual editors optimize for human timeline work.
- JSON payloads optimize for systems that can generate many variations reliably.
JSON rendering wins when the scene repeats and the data changes.
That is why JSON-driven rendering is common in catalog automation, localized campaign variants, onboarding sequences, personalized clips, and app-generated explainers. The same template logic can keep paying off long after the first demo works.
Use cases and integrations
The strongest use case for a JSON to video workflow is repeatable output from structured data. That can include product videos, personalized videos, onboarding explainers, video marketing assets, social media content for TikTok or other channels, internal training clips, and automated status updates.
Integration usually happens in one of three places:
- Backend jobs that build a payload and call the video API directly.
- Automation tools that trigger renders from forms, CRM changes, ecommerce events, or spreadsheet rows.
- Content pipelines where AI agents, copy tools, or image and video systems prepare assets before the final render request.
The important part is to keep the renderer's job clear. Zvid receives structured JSON, renders the video, and returns a finished output. Your surrounding workflow can decide where the content comes from, whether AI helps draft it, and where the completed video file should be stored.
Common mistakes
The most common mistake is treating the payload like a one-off export instead of a reusable contract between your application and the renderer.
Other problems show up repeatedly:
- Mixing data cleanup with scene layout logic in the same step.
- Hard-coding text lengths and dimensions that only work for one example.
- Assuming a successful submit means the video is already finished.
- Skipping auth checks while debugging and then chasing the wrong problem.
- Designing a scene that looks good once but breaks with longer real inputs.
- Confusing prompt-based AI video generation with deterministic JSON video rendering.
- Forgetting to plan brand consistency across output sizes, languages, and channels.
Another easy failure is making the first payload too ambitious. Start with one stable scene, short copy, and predictable layout. After that works, add remote media, subtitles, channel variants, and more dynamic inputs.
When to use Zvid
Use Zvid when you want a hosted API that can turn structured video definitions into repeatable render jobs without building the rendering pipeline yourself.
Zvid is a strong fit when you need:
- One payload model reused across many outputs.
- Public API endpoints for auth checks, render submission, and job polling.
- Control over timing, layout, text, and media through JSON.
- A workflow that fits backend jobs, automation systems, and data-driven products.
- A way to programmatically generate videos from JSON templates, not just a one-off visual editor export.
One JSON-driven render system can support many outputs once the payload model is stable.
If you only need occasional handcrafted edits, the API model may be unnecessary. If your inputs already exist as structured data, generating videos from JSON usually becomes much easier than maintaining the same work manually.
If that matches your use case, try one Zvid payload today, confirm the finished output, and then expand the same pattern into your real templates.
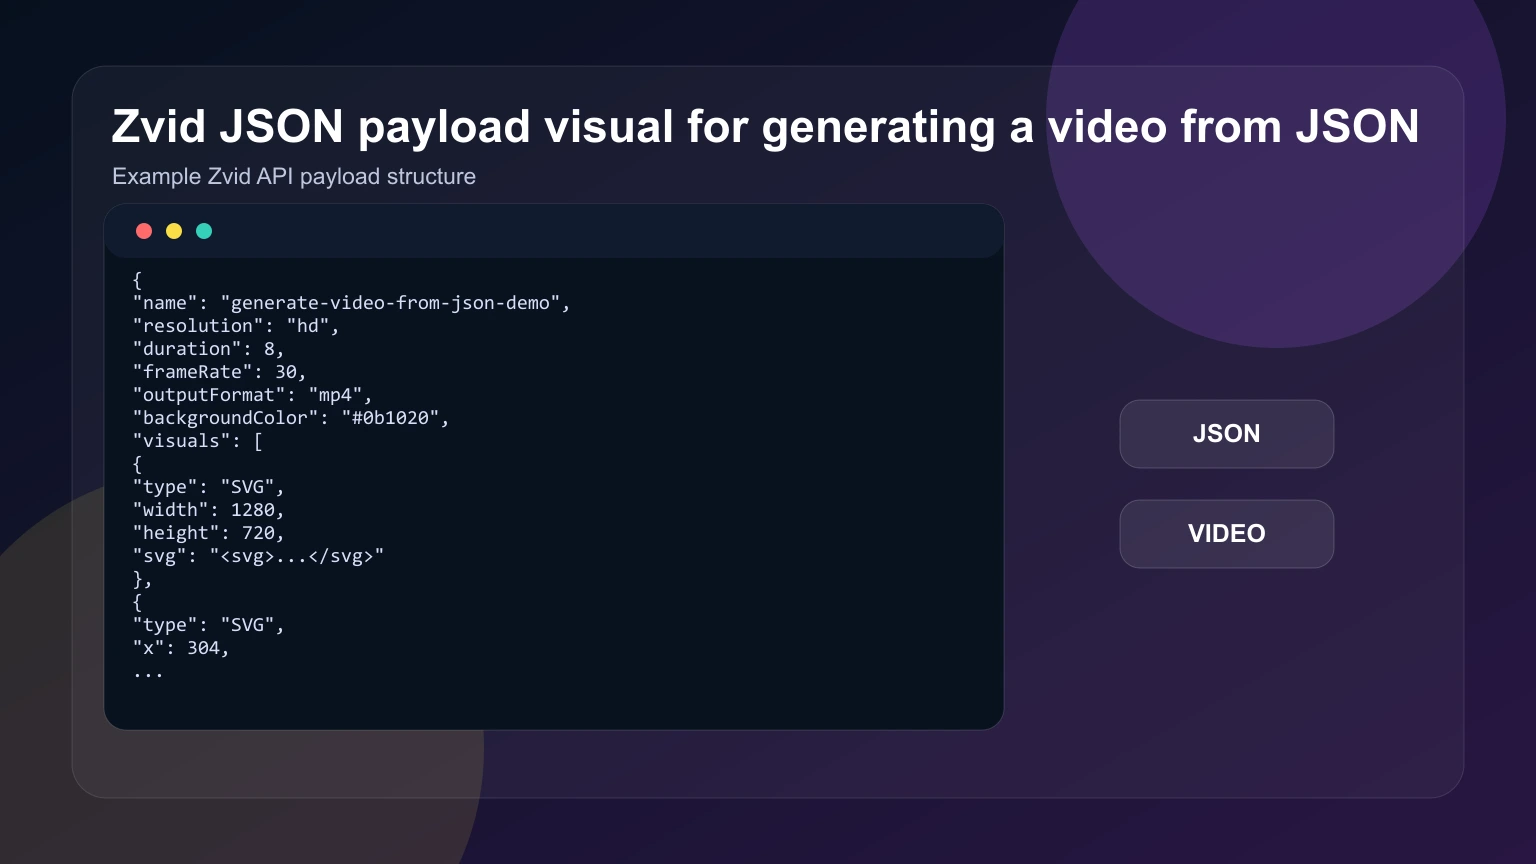
The payload visual is generated from the real renderable example in this tutorial.
FAQs
Do I need a huge payload to get started?
No. A small payload with one or two text elements is enough to prove the request flow first. Add more scene complexity only after you can submit jobs and track finished results reliably.
How do I convert JSON to video?
Create a JSON payload that describes the video, send it to a render endpoint, save the returned job ID, and poll until the API returns a completed video URL. In Zvid, the public render endpoint accepts a payload object and the jobs endpoint reports render status.
Is this the same as JSON prompting for AI video?
Not exactly. JSON prompting for AI video describes a scene for a generative model. Zvid uses structured JSON as a render payload, which is better for explicit layouts, templates, brand consistency, subtitles, media placement, and repeatable output.
Should I use preset resolutions or custom width and height?
Preset resolutions are usually the fastest starting point because they give you known output sizes. Use custom dimensions when your workflow needs a format that does not fit a preset cleanly.
Can I generate many videos from the same JSON structure?
Yes. That is one of the main advantages of this approach. Keep the scene logic stable and swap the changing inputs such as title, CTA, media URL, language, or destination format.
Can I integrate JSON video rendering with my existing workflow?
Yes. A backend service, automation tool, ecommerce job, CRM trigger, or spreadsheet workflow can prepare the structured data, create the JSON payload, call the API, and store the finished output URL.
How long does it take to generate a video from JSON?
The exact render time depends on video length, complexity, media assets, and queue state. The reliable pattern is to submit the job, poll status, and treat the video as ready only when the API returns a completed result.
What should I save from each render request?
Save the payload version, returned jobId, current state, and final output URL. That gives you enough context to debug, retry, and regenerate later.
Generating a video from JSON is mostly about getting one reliable loop working: create the payload, submit the job, poll the result, and reuse the same structure as your content changes. Zvid gives you a public API for that exact workflow, so the next practical step is to send one small render job and inspect the finished output.