Tutorials
Educational Explainer Video Template JSON
Build a reusable educational explainer video template JSON with iterated lesson points, optional examples, captions, preview checks, and Zvid.
By Mina RamzyPublished
Educational Explainer Video Template JSON
An educational explainer video template JSON turns a structured lesson record into a repeatable short video. The template below accepts a lesson title, an array of teaching points, an optional worked example, a takeaway, approved audio, and captions. Zvid resolves the variables, repeats the point scene, removes the example scene when it is disabled, and produces a project you can inspect before rendering.
To make an explainer video reliably, keep the instructional structure stable while the topic changes. This guide is narrower than an automated course video workflow, which covers a curriculum, and a faceless video JSON workflow, which starts with script-to-timeline decisions. Here, the approved lesson maps into a reusable design for repeatable explainer videos.
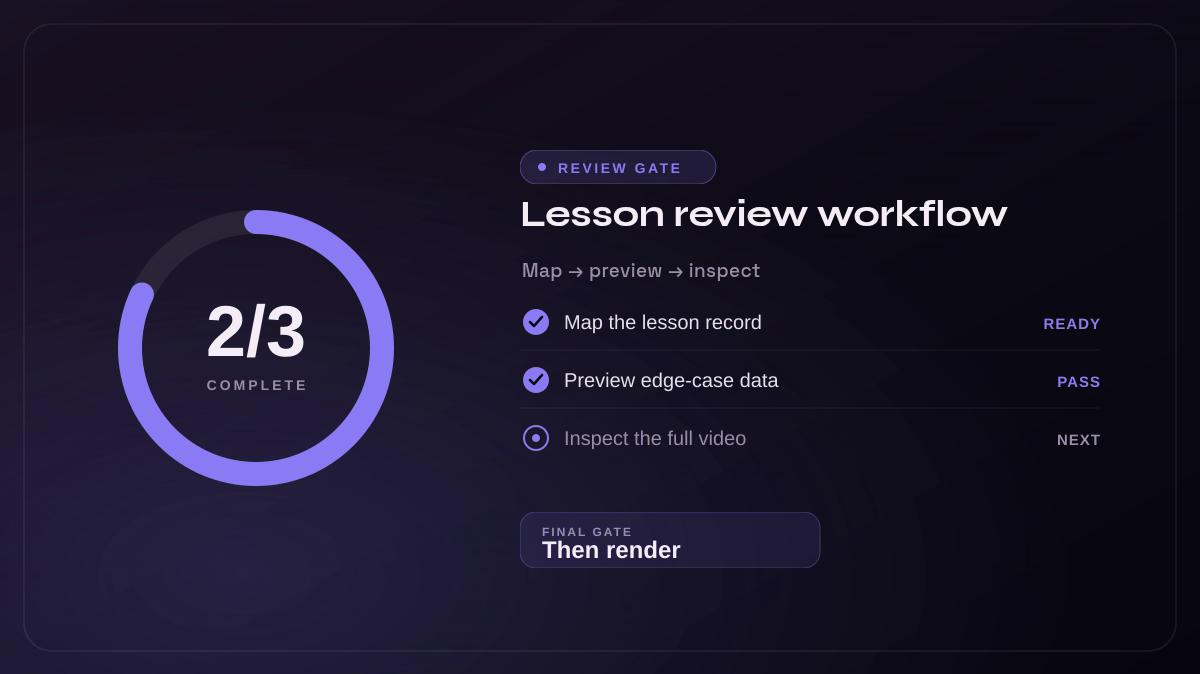
Map the lesson record, preview the edge case, inspect the complete video, and only then render.
What makes a good educational explainer video?
An explainer video is a short, focused presentation that makes one concept clear through narration, text, and visual sequencing. Good explainer videos start with a single learning objective, introduce only the facts needed to reach it, and finish with a memorable takeaway. They do not turn every paragraph into a separate scene.
For EdTech teams, animated explainer videos are most useful when the motion shows structure: a sequence, comparison, cause, or change. An infographic can support a data-heavy lesson, while a worked example can simplify complex ideas. Neither should be decorative. The best explainer video is the one a learner can understand without replaying cluttered scenes.
This JSON approach is not a drag-and-drop explainer video maker, and it is not a directory of free explainer video templates. It is a customizable explainer video contract for teams that need to create explainer videos repeatedly from approved records. Designers customize the reusable layout; applications safely change the lesson data.
Unlike generic explainer video software, the saved JSON remains editable and easy to customize through controlled variables. Creating an explainer video still begins with an approved explainer script. You can record your own voice, add an animated explainer video scene, and create videos in a consistent visual way without repeating routine video editing.
Keep explainer videos short and sweet enough for their learning objective, not for an arbitrary platform rule. A 20-second concept can work as a TikTok or another vertical social media video. A nuanced topic may need a longer educational video or several linked explainer videos. Preview at the intended aspect ratio before you download your explainer video or embed it in a course page.
The goal is a great explainer video, not generic video marketing.
Define a lesson record before styling scenes
Keep instructional content separate from presentation. A compact lesson record might contain:
{
  "course": "WEB BASICS",
  "title": "How HTTPS protects a request",
  "points": [
    {
      "number": "01",
      "heading": "Encrypt",
      "body": "Scramble the request so intercepted data is unreadable.",
      "accent": "#0F7A6E",
      "contrast": "#FFD166"
    }
  ],
  "showExample": true,
  "exampleTitle": "A browser opens a secure checkout",
  "exampleBody": "The certificate identifies the server before encrypted data moves.",
  "takeaway": "Encrypt it. Verify it. Detect changes.",
  "audioUrl": "https://cdn.pixabay.com/audio/2025/04/21/audio_ed6f0ed574.mp3",
  "captions": [
    {
      "startTime": 0.4,
      "endTime": 2.8,
      "text": "How HTTPS protects a request"
    }
  ]
}
Validate this record in your application before it reaches the video template. Require at least one point, cap title and body lengths, accept only reachable licensed audio, and ensure every caption has increasing start and end times. The data contract should also say whether the audio is music or narration; a renderer cannot infer that distinction from a URL.
Write each point as one teachable claim and one short explanation. If it needs several exceptions, it probably deserves another lesson. Store the source or reviewer note with the record so the approved fact remains traceable to the rendered scene. Likewise, allow only accessible accent and contrast combinations from an approved palette.
Use this complete explainer short template
The following project uses explicit durations, a variable array, iterate for repeated point cards, and condition for the optional example. Its defaults make the structure understandable before any application supplies production data.
{
  "name": "educational-explainer-short",
  "resolution": "instagram-reel",
  "frameRate": 30,
  "backgroundColor": "#FFF6E9",
  "outputFormat": "mp4",
  "variables": {
    "course": "WEB BASICS",
    "lessonTitle": "How HTTPS protects a request",
    "kicker": "20-SECOND LESSON",
    "points": [
      {
        "number": "01",
        "heading": "Encrypt",
        "body": "Scramble the request so intercepted data is unreadable.",
        "accent": "#0F7A6E",
        "contrast": "#FFD166"
      },
      {
        "number": "02",
        "heading": "Verify",
        "body": "Use the certificate to confirm the server's identity.",
        "accent": "#E0A100",
        "contrast": "#0F1E1C"
      },
      {
        "number": "03",
        "heading": "Protect",
        "body": "Detect changes made while the request moves across the network.",
        "accent": "#E6452F",
        "contrast": "#FFF6E9"
      }
    ],
    "showExample": true,
    "exampleTitle": "Secure checkout",
    "exampleBody": "The browser verifies the certificate before sending encrypted payment data.",
    "takeaway": "Encrypt it. Verify it. Detect changes.",
    "audioUrl": "https://cdn.pixabay.com/audio/2025/04/21/audio_ed6f0ed574.mp3",
    "cta": "Review, then render",
    "captions": [
      {
        "startTime": 0.4,
        "endTime": 2.8,
        "text": "How HTTPS protects a request"
      },
      {
        "startTime": 3.2,
        "endTime": 6,
        "text": "First, encrypt the request."
      }
    ]
  },
  "scenes": [
    {
      "id": "opening",
      "duration": 3.2,
      "backgroundColor": "#0F7A6E",
      "transition": "smoothup",
      "transitionDuration": 0.35,
      "transitionId": "lesson",
      "visuals": [
        {
          "type": "TEXT",
          "html": "<div style=\"font-size:28px;font-weight:800;letter-spacing:4px;color:#FFD166\">{{course}} · {{kicker}}</div><div style=\"margin-top:34px;font-size:88px;font-weight:900;line-height:1.02;color:#FFF6E9\">{{lessonTitle}}</div>",
          "x": 70,
          "y": 480,
          "width": 940,
          "height": 780,
          "position": "custom",
          "anchor": "top-left",
          "track": 0,
          "style": {
            "color": "#FFF6E9",
            "display": "flex",
            "flexDirection": "column",
            "justifyContent": "center"
          }
        }
      ]
    },
    {
      "id": "point",
      "iterate": "points",
      "iterateAs": "point",
      "duration": 3.4,
      "backgroundColor": "{{point.accent}}",
      "visuals": [
        {
          "type": "TEXT",
          "html": "<div style=\"font-size:110px;font-weight:900;color:{{point.contrast}}\">{{point.number}}</div><div style=\"margin-top:28px;font-size:76px;font-weight:900;color:#FFFFFF\">{{point.heading}}</div><div style=\"margin-top:34px;font-size:38px;line-height:1.28;color:#FFFFFF\">{{point.body}}</div>",
          "x": 75,
          "y": 330,
          "width": 930,
          "height": 1150,
          "position": "custom",
          "anchor": "top-left",
          "track": 0,
          "style": {
            "color": "#FFFFFF",
            "display": "flex",
            "flexDirection": "column",
            "justifyContent": "center"
          }
        }
      ]
    },
    {
      "id": "example",
      "condition": "showExample",
      "duration": 3.5,
      "backgroundColor": "#FFD166",
      "visuals": [
        {
          "type": "TEXT",
          "html": "<div style=\"font-size:28px;font-weight:800;letter-spacing:4px;color:#0F7A6E\">WORKED EXAMPLE</div><div style=\"margin-top:34px;font-size:70px;font-weight:900;color:#0F1E1C\">{{exampleTitle}}</div><div style=\"margin-top:36px;font-size:38px;line-height:1.3;color:#0F1E1C\">{{exampleBody}}</div>",
          "x": 75,
          "y": 380,
          "width": 930,
          "height": 1050,
          "position": "custom",
          "anchor": "top-left",
          "track": 0,
          "style": {
            "color": "#0F1E1C",
            "display": "flex",
            "flexDirection": "column",
            "justifyContent": "center"
          }
        }
      ]
    },
    {
      "id": "takeaway",
      "duration": 3.4,
      "backgroundColor": "#0F1E1C",
      "visuals": [
        {
          "type": "TEXT",
          "html": "<div style=\"font-size:28px;font-weight:800;letter-spacing:4px;color:#FFD166\">TAKEAWAY</div><div style=\"margin-top:34px;font-size:78px;font-weight:900;line-height:1.05;color:#FFF6E9\">{{takeaway}}</div><div style=\"margin-top:54px;font-size:32px;font-weight:700;color:#84DCC6\">{{cta}}</div>",
          "x": 75,
          "y": 460,
          "width": 930,
          "height": 850,
          "position": "custom",
          "anchor": "top-left",
          "track": 0,
          "style": {
            "color": "#FFF6E9",
            "display": "flex",
            "flexDirection": "column",
            "justifyContent": "center",
            "textAlign": "center"
          }
        }
      ]
    }
  ],
  "audios": [
    {
      "type": "AUDIO",
      "src": "{{audioUrl}}",
      "startTime": 0,
      "duration": 20.3,
      "volume": 0.16
    }
  ],
  "subtitles": [
    {
      "type": "SUBTITLE",
      "captions": "{{captions}}",
      "fontFamily": "Inter",
      "fontSize": 42,
      "color": "#FFFFFF",
      "backgroundColor": "#0F1E1CDD",
      "position": "bottom",
      "bottom": 110,
      "maxWidth": 900
    }
  ]
}
Zvid's template basics explain variable defaults and placeholders. The dynamic content guide covers conditions and iteration, while the template editor guide shows how a saved design becomes reusable.
Treat narration and captions as one approved pair
The default audio above is background music, not spoken instruction. For narration, replace audioUrl with a public, licensed narration file and set an appropriate volume. Then regenerate captions from the final approved recording, not from an earlier script draft. Captions should describe the words viewers actually hear.
Do not guess scene lengths from character counts. Use the measured narration duration and review the resolved timeline. The detailed voiceover and caption timing guide covers synchronization decisions, and the subtitle JSON tutorial explains caption data in more depth.
Preview the longest valid lesson
Save the template once, then preview exact variables before starting a render. Use a representative edge case: the maximum point count, the longest permitted body copy, the optional example enabled, and the final audio URL. The resolved preview should show the expected scene count, duration, substitutions, and repeated point scenes.
For the structure demonstrated here, the live template preview expanded three point records into six scenes, made 42 substitutions, and calculated a 24.25-second timeline with the example enabled. Inspect the result for unresolved placeholders, unsafe line breaks, low-contrast colors, missing captions, and a duration that disagrees with the approved audio. The timeline editor guide is useful when a designer needs to inspect the resolved sequence visually.
Previewing is also the cheapest place to catch a data-shape error. A missing heading, an empty array, or an unexpected Boolean should stop the workflow before a render request. Keep the resolved scene count in your job record and compare it with the number your application expected. For this template, the relationship is predictable: opening, one scene per point, an optional example, and a takeaway. A mismatch is a useful signal that a condition or iteration did not resolve as intended.
After copy and timing pass, inspect the target aspect ratio. Vertical explainer videos need generous safe areas because social interfaces cover screen edges. Check stable scenes and transitions; a correct card at rest can expose clipped text during motion.
Inspect a real educational explainer
The demo below is a Zvid-rendered adaptation of the pro-edu-micro-lesson example. It preserves the example's designed lesson-card layout and motion while changing the declared lesson variables, colors, teacher portrait, and final call to action. The HTTPS lesson is illustrative and intentionally brief.
A reviewed vertical lesson with an opening promise, three teaching points, a takeaway, and a review-before-render ending.
Add production safeguards around the template
The education video template controls presentation. Your application should control instructional accuracy, accessibility, and traceability:
- Require reviewer approval for the lesson record and final narration.
- Enforce copy limits before previewing, including the longest point body.
- Reject unreachable media URLs and record licensing or attribution data.
- Confirm caption text and timing against the final audio.
- Store the template version, input hash, resolved duration, render job ID, and output URL.
- Review the downloaded video on a phone-sized screen before distribution.
These controls complement schema validation. The JSON schema guide explains how structural validation catches malformed projects before rendering, but a valid project can still contain inaccurate teaching or unreadable copy.
Version the template whenever layout, animation, or variable rules change. Do not reuse an old approval against a new design. Connect the lesson ID, reviewer, narration version, template ID, resolved preview, and final render job so a later report can be traced to its source.
Finally, separate render completion from distribution. Completed explainer videos are artifacts to review, not automatic permission to post. Inspect downloaded explainer videos, confirm captions and audio on a second device, and use the course team's release process.
That review is what turns technically valid video content into engaging explainer videos. It also makes future video projects easier to create: the team can reuse a proven explainer template while improving the lesson record instead of rebuilding animated scenes from scratch.
Frequently asked questions
Can the number of lesson points vary?
Yes. iterate creates one resolved scene for each object in points. Set a practical minimum and maximum in your application, then preview both boundaries because total duration and attention load change with the array length.
How should an optional example work?
Use a Boolean such as showExample and attach it to the scene's condition. Preview once with the value set to true and again with false so you can confirm that the scene disappears cleanly and the remaining timeline still flows.
Should captions match the script or the narration?
They should match the final approved narration. If the speaker changes a phrase, update the caption text and timing before rendering. Treat the script as the plan and the recording as the playback truth.